

Sunlight shapes images softly when you wait for the right moment. A window can become a studio if the timing lines up. Even phones capture what eyes notice first. Watch shadows shift across surfaces during mornings or late afternoons. Simple tools work fine when daylight photography guides the frame. Notice angles where brightness wraps around edges. With that, your shots can look soft, natural, and even professional.
Let’s break it down. Here’s how you can get comfortable with natural light photography using simple tips. When you’re done, you’ll know how to capture great photos without ever reaching for a flash.
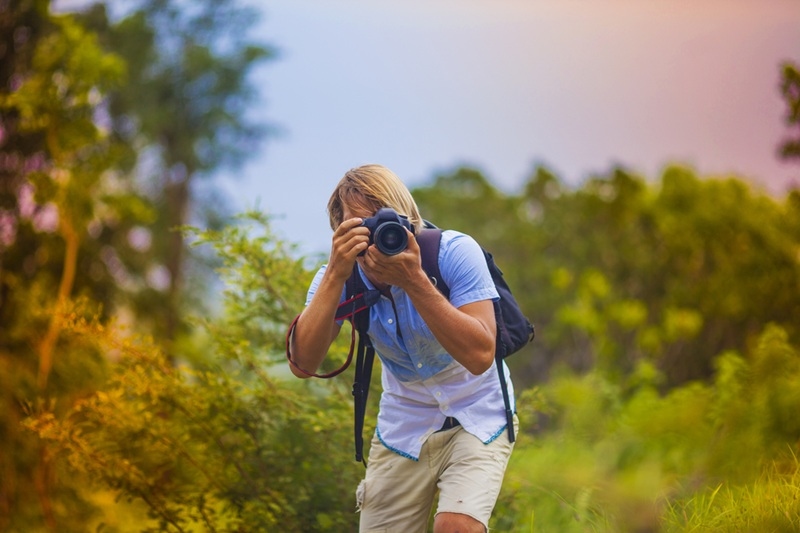
Natural light photography means you work with sunlight, not flashes or studio lights. People love this style because sunlight gives you gentle tones, true-to-life colors, and a more natural vibe in your pictures.
To get the most out of daylight photography, you have to pay attention to how sunlight changes over time. The sun gets stronger, shifts angles, and even changes color throughout the day—all of that changes your photos. Figuring out how to handle these shifts is what makes your work stand out.
You’ll see natural light photography everywhere: portraits, travel, landscapes, and even product shots. Using the sun just makes everything look more genuine and pleasing.
Where the light comes from changes everything about your photo; it’s what creates shadows, highlights faces, and gives your subject depth.
If the sun is behind you, lighting your subject from the front, you’ll get a really even light. It’s simple but can look a bit flat. Move the sun to the side, and things get interesting—soft shadows appear, and your shots have more shape and texture. Put the sun behind your subject, and you’ll get that dreamy glow; it works great for creative or dramatic photos.
Learning to control where the light hits is huge. Instead of bringing in extra gear, just change where you or your subject stands—that’s all it takes.
Timing makes a bigger difference than people think. Light changes all day, so the time you shoot really matters.
Everyone loves the golden hour—the short window right after sunrise or just before sunset. The sunlight is soft, warm, and flattering. You get those long, soft shadows and that lovely golden glow. It makes every subject look better.
Shooting in the middle of the day isn’t as easy. The sun’s right overhead, and the light feels harsh. Shadows under your eyes, bright hot spots, all that. If you have to shoot at noon, try finding some shade or use whatever’s nearby to block the sun.
In the end, golden hour is the sweet spot for that magical, cinematic look.
If you want your photos to turn out better, start by avoiding that intense overhead sun. It creates deep, harsh shadows where you don’t want them.
Shooting outside means you’ve got a whole world of lighting options. Your environment becomes part of your toolkit. Shadows, reflections, and even colors around you can reshape a photo. For example, water nearby? Instant reflective surface. Use buildings or walls to block, direct, or bounce sunlight.
Pay attention to what’s around. Move around, change your angle, and see how the light hits your subject from different spots.
When you begin to work with natural light, it is possible to become proficient in using it and begin to produce photos that improve with each shoot.
Where you shoot matters just as much as how you light your subject; some places just have better natural light than others—think wide open fields, beaches, or parks with nothing blocking the sun. Urban spots can surprise you, too. Tall buildings throw unique shadows and beams of light that make things interesting.
Look for places where the light feels soft, and nothing in the background pulls attention away from your subject. When you pair a clean backdrop with good light, your subject pops.
Good daylight photos usually start with finding a spot where the surroundings work with the light, not against it. So, stop for a minute, check out what’s happening around you, and let the light guide you before you start shooting.
You don’t need fancy camera tricks to get sharp photos outside, but knowing a few basics helps a ton.
If it’s bright out, set your ISO low to avoid grainy pictures. Change up your shutter speed depending on how much light you have—a fast shutter speed works in bright sunlight, and a slower speed helps if things get dimmer.
Want your subject to stand out? Use a wide aperture for that nice, blurry background. This works wonders, especially for portraits.
Play around with your settings. Try different combinations and see what you like in each kind of light. The more you experiment, the faster you’ll get the hang of it.
You don’t always have to go outside for beautiful natural light. A simple window can do wonders.
Just place your subject near a window. Natural light coming through creates a gentle, flattering effect. Skip spots where the sunlight is harsh—otherwise, strong shadows will sneak in.
Pay attention to which way the light’s hitting your subject. Side lighting from a window often adds nice depth. Shooting indoors with daylight works great for portraits, food, or any still life shots. You’ll have more control while still keeping that natural look.
Try shooting at sunset for bold silhouettes. Shoot into the light to get some dramatic backlit shots, or focus on shadows to add texture. Golden hour—that stretch just after sunrise or before sunset—is pure magic and adds a warm glow to your photos.
Use reflections in puddles or windows to mix things up. Natural light gives you lots of room to try new styles without being tied to artificial lights.
Natural light is one of the simplest and strongest ways to make amazing photos. Once you understand how to use daylight, spot the best light, and work with your surroundings, your photos start looking both real and professional.
Stick with it, keep your eyes open for good light, and you’ll end up shooting beautiful images—no flash required.
The optimal time would be at golden hour, right after the sun comes up or before it goes down. At these times, light is gentle and warm, which helps to highlight colors, and also, shadows are not so strong. This is one of the reasons why it is great for people pictures, nature pictures, and your artistic pictures without the use of a flash.
Yes, natural light photography inside your home is a great option as well. You can utilize a window for lighting. To get that soft lighting, put your subject by the window. Be careful with direct sunlight, and if you want bright yet mixed professional photos, then you can use curtains or reflectors.
There are several options available for you. For instance, you figure out where the shade is and take your photos there, or another time would be at the crack of dawn or before sunset. Besides that, you can also think about using the things that surround you in order to block light or simply change your angle. All of them contribute to the reduction of very marked shadows and the general improvement of the photos.
Directional lighting determines the placement of shadows and highlights in your photo. It's the main element behind the creation of depth, surfaces, and feelings in a photo. Once you or the photographer get it, you can bring your model to the most suitable spot and have a shot at better natural light photos without the use of additional lighting equipment.
This content was created by AI