

Learning how to use a camera is like learning how to bake a cake. If you have the right ingredients and know how to mix them, the result is amazing. To take great photos, a person must understand their camera settings and how they change the light. Starting with a simple aperture guide can help a new photographer see how the background blurs. Using the right exposure settings ensures a picture is neither too bright nor too dark. This guide helps everyone learn to control their camera with confidence and joy.
A camera has many buttons and dials that might look confusing at first. But really, most of them are there to help you control the light. Here’s the thing: most people leave their camera on the green auto mode. While that works sometimes, learning your camera settings gives you the power to make artistic choices. It is like the difference between buying a pre-made sandwich and cooking a fancy dinner yourself.
What this really means is that the camera needs to be told what to do. If the room is dark, adjust the camera settings so the sensor can see better. If you are outside in bright sunlight, you have to turn down the exposure so the picture doesn't look white and washed out. Taking time to play with these buttons is the best way to improve at photographing your family and pets.
Aperture is just a fancy word for the hole inside the lens. This hole can open up wide or close down small. According to a basic aperture guide, a wide opening lets in a lot of light. This is great for taking pictures of a single person because it makes the background look soft and blurry. This helps the person stand out and look very professional.
Have you ever taken a photo of a running dog that turned out blurry? That happens because the shutter was open too long. Shutter speed tips often suggest using a very fast shutter speed for moving subjects. The shutter is like a little curtain that opens and shuts really fast. If it moves at 1/1000 of a second, even a fast bird will look perfectly still in your photo.
Let’s break it down further. Sometimes you want things to look blurry on purpose, like a waterfall that seems to move. For that, you use a slow speed. But you must use a tripod or a flat rock so the camera does not shake. Following these shutter speed tips will help you capture movement that looks like real art.
The third part of the light puzzle is the ISO. This tells the camera how hard it should try to see in the dark. Lower ISO settings are best for bright days at the park. They make the image look very clean and smooth, and if you're inside a house that's a little dark, you shouldn't need to use a higher ISO to make the photo bright enough to see.
What this really means is that you should always try to keep the ISO as low as possible. Only turn it up when the other camera settings cannot make the photo bright enough.
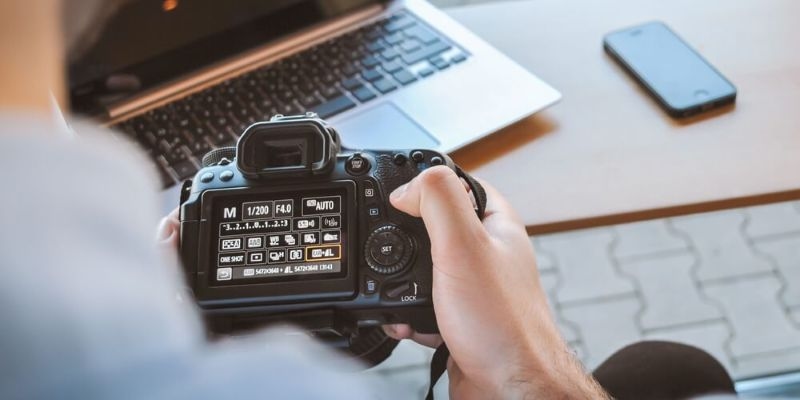
Once a person feels brave, they can switch their dial to the letter M. This stands for manual mode. In manual mode, you are the boss of everything. You get to pick the aperture, the shutter speed, and the ISO all by yourself. It might feel like a lot of work at first, but it is the best way to learn how light actually works.
Most professional photographers use manual mode because they want their photos to look a specific way. They don't want the camera to guess. When you practice in manual mode, you start to see the world in a new way. You notice how the sun hits the trees and how the shadows fall on the ground. It is a very rewarding way to use your camera gear.
Exposure is just the total amount of light that hits the camera sensor. Getting the right exposure settings means finding the perfect balance between the three things we talked about. If one thing goes up, another thing usually has to go down. This is often called the exposure triangle. It sounds complicated, but it is just like a seesaw at the playground.
Here’s the thing: your camera has a little ruler-like meter inside. If the little dot is in the middle, your exposure settings are probably just right. If the dot is on the plus side, it is too bright. If it is on the minus side, it is too dark. Checking this meter before you click the button will save you a lot of time later when you are looking at your pictures on a computer.
Mastering your camera settings is the fastest way to turn boring snapshots into beautiful art. By practicing with your aperture guide and shutter speed tips, you will feel much more creative. Keep trying new things and don't be afraid to make mistakes. Grab your camera and start clicking today.
For portraits, it is usually best to use a wide aperture, such as f/2.8 or f/4. This makes the background blurry, so the person's face is the most important part of the photo. It makes the eyes look sharp, and the skin look very smooth.
To photograph the moon, you need a very fast shutter speed because the moon is actually very bright. You should also use a tripod and a long lens. Set your ISO to 100 so the moon looks clear and you can see all the little craters.
Indoor photos look yellow because of the light bulbs in your house. You can fix this by changing the white balance in your camera settings. Look for the "Tungsten" or "Incandescent" setting, which adds a lot of blue to make the lights look more natural.
You can use auto mode, but your pictures might not always look the way you want. Auto mode often gets confused by bright snow or dark shadows. Learning manual mode gives you the freedom to take the exact picture you have in your mind.
This content was created by AI